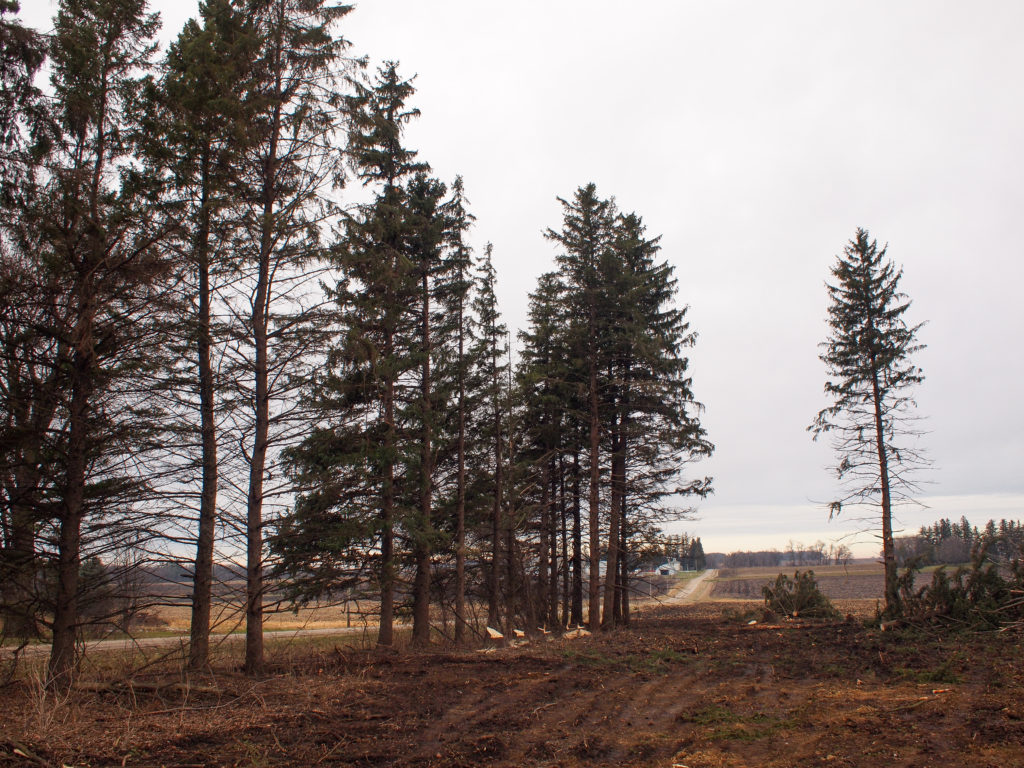
Milling Blonde Black Walnut Slabs on the Wood-Mizer LT15 WIDE
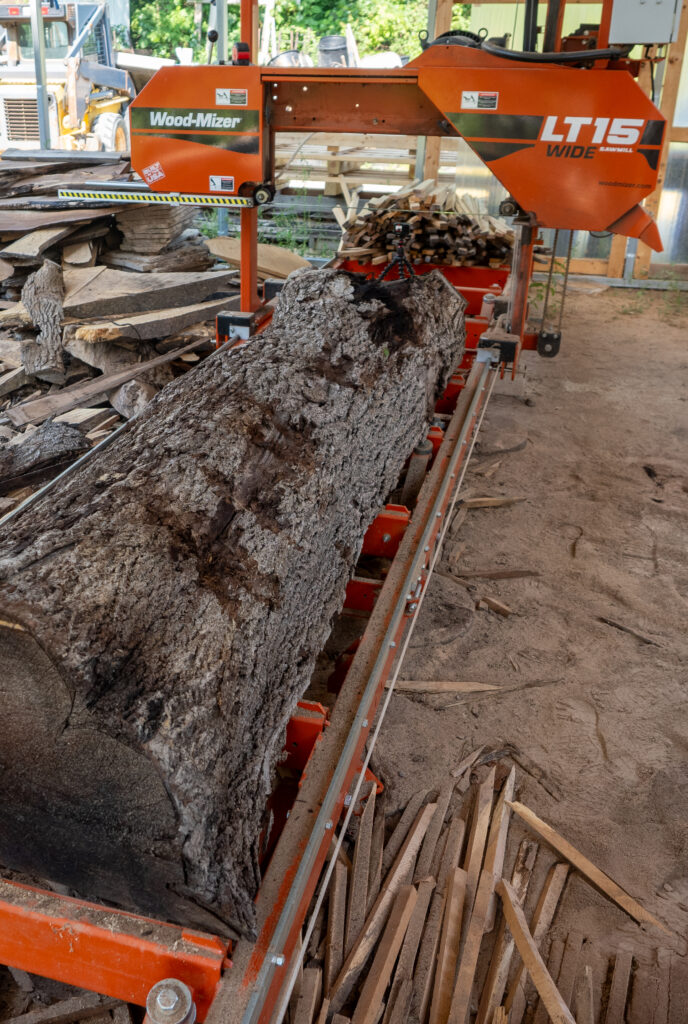
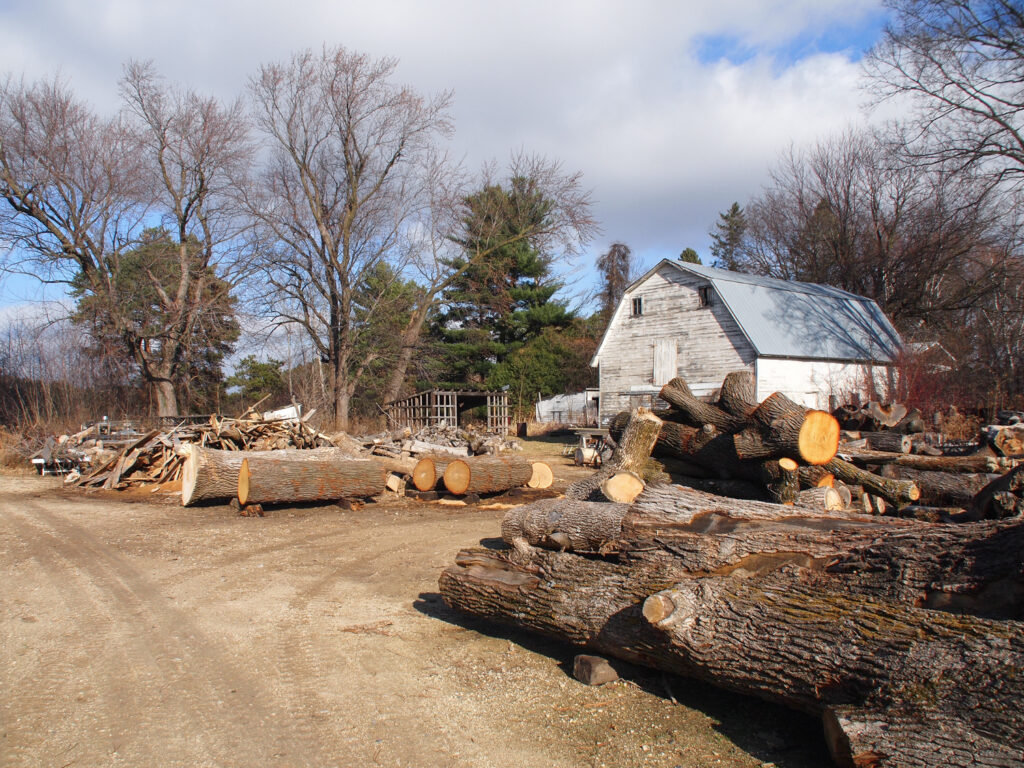
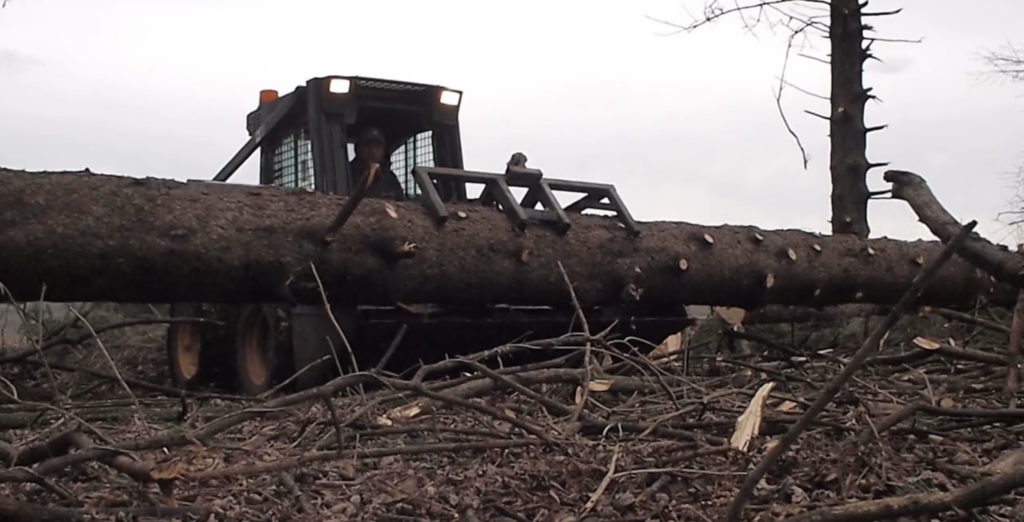
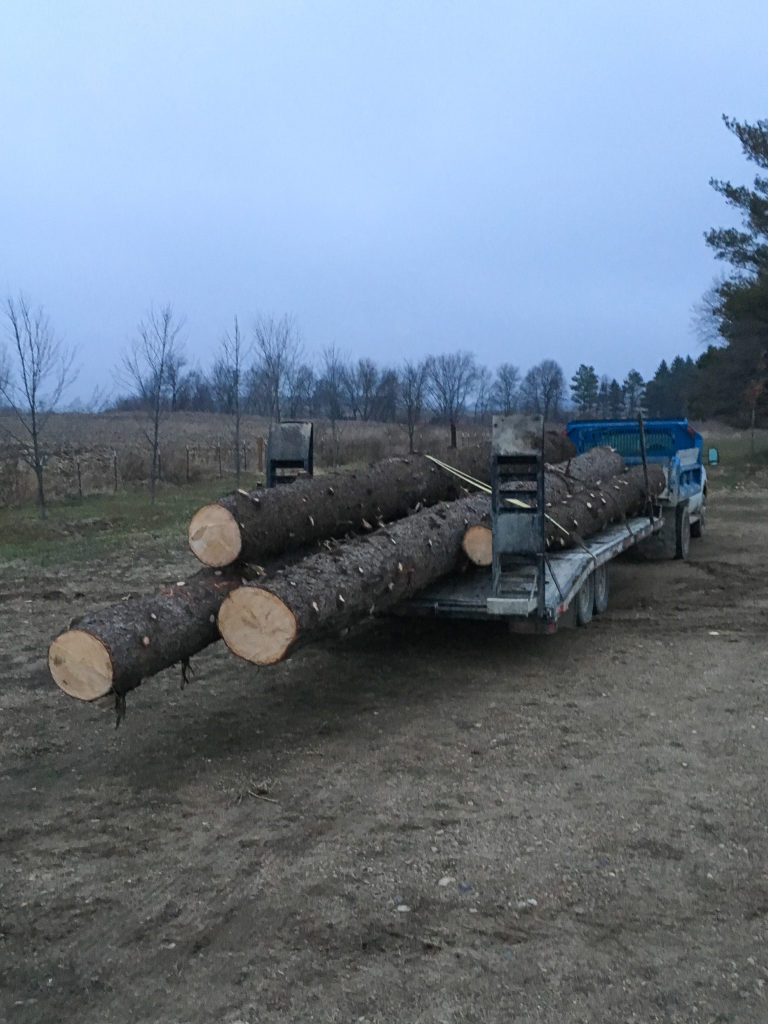
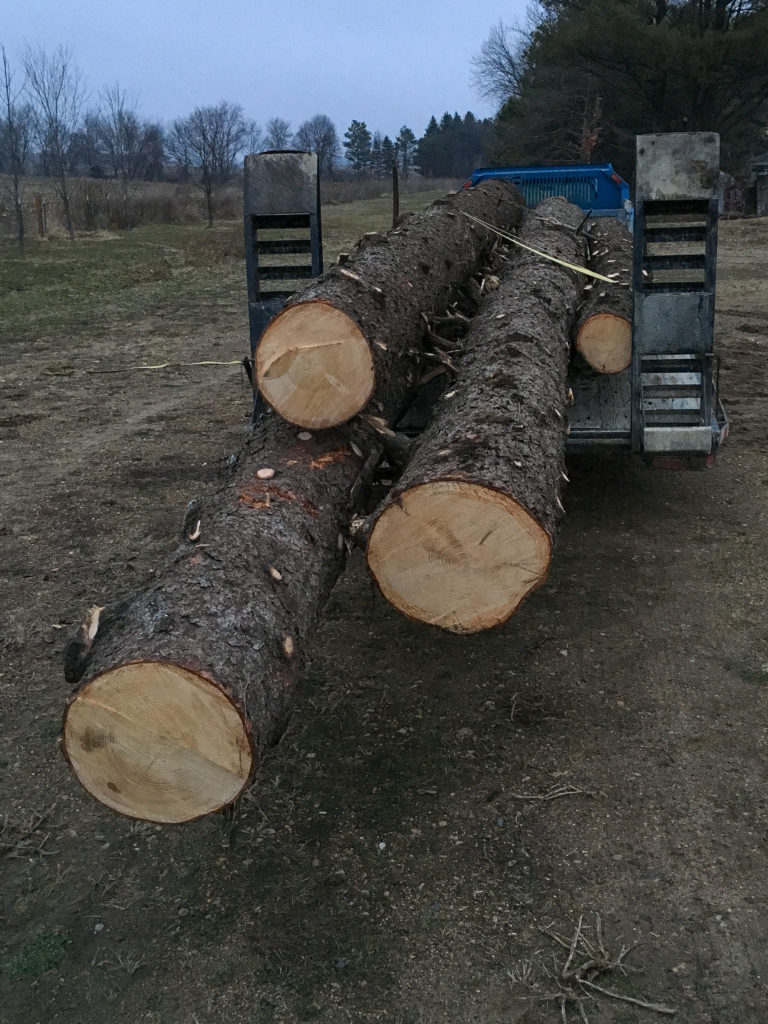
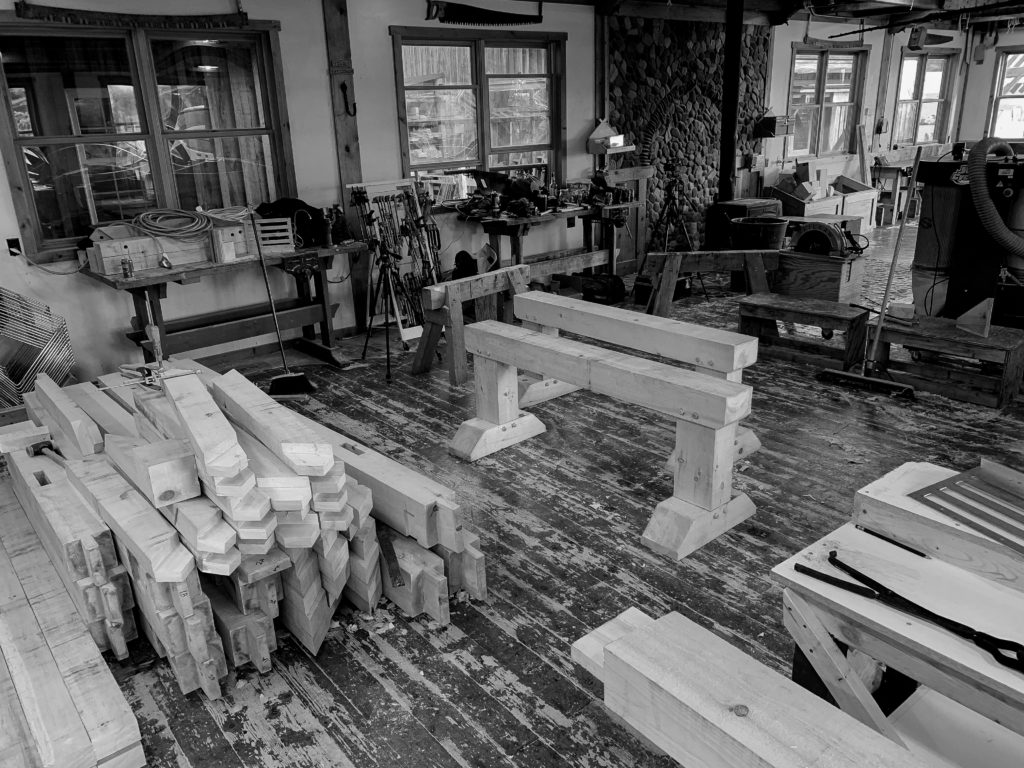
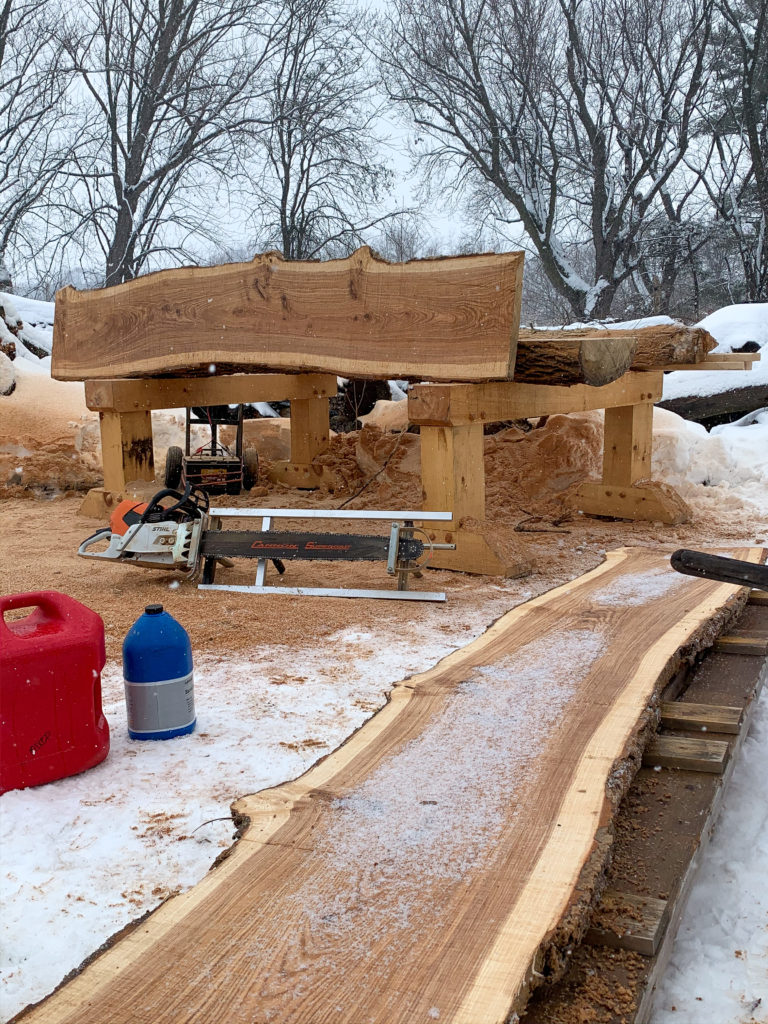
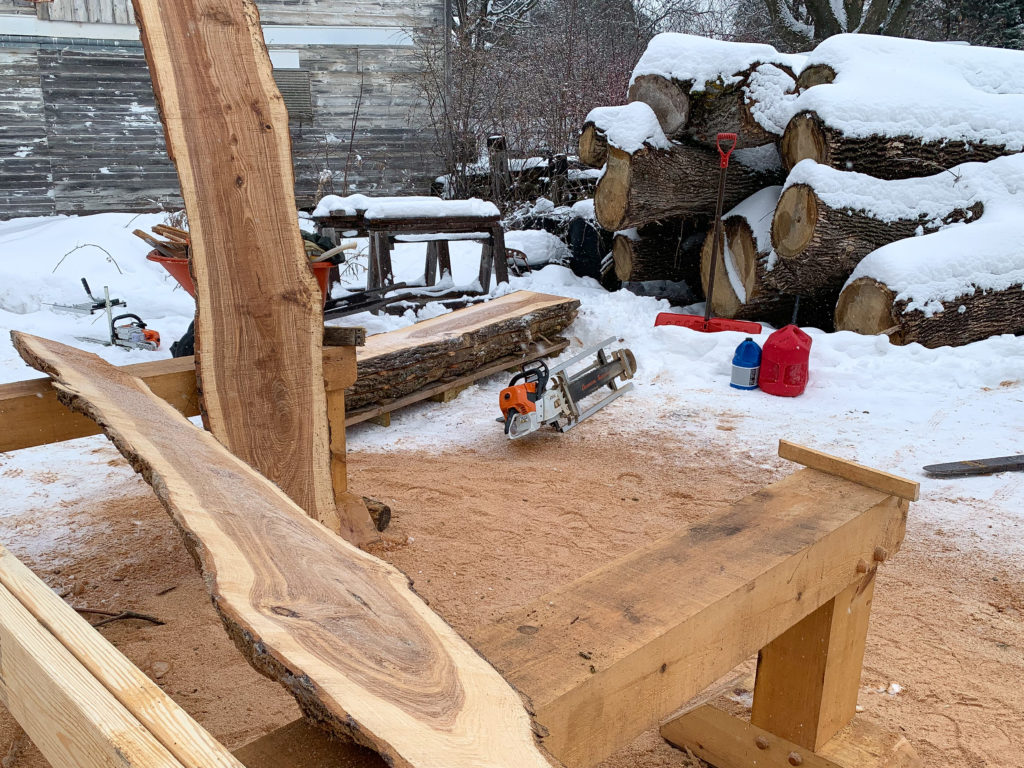
The Wood-Mizer LT15 Wide sawmill is housed in the spacious sawmill shed at The Gardens Workshop, a place where milling cool logs becomes an absolute delight. There’s a sense of anticipation and wonder each time we open up a log for the first time, eagerly waiting to unveil its hidden treasures. The intricate grain patterns and the rich hues of the wood’s colors never fail to mesmerize us. It’s fascinating to observe any unique characteristics, such as figure and inclusions within the wood, that make each log a truly distinctive piece.
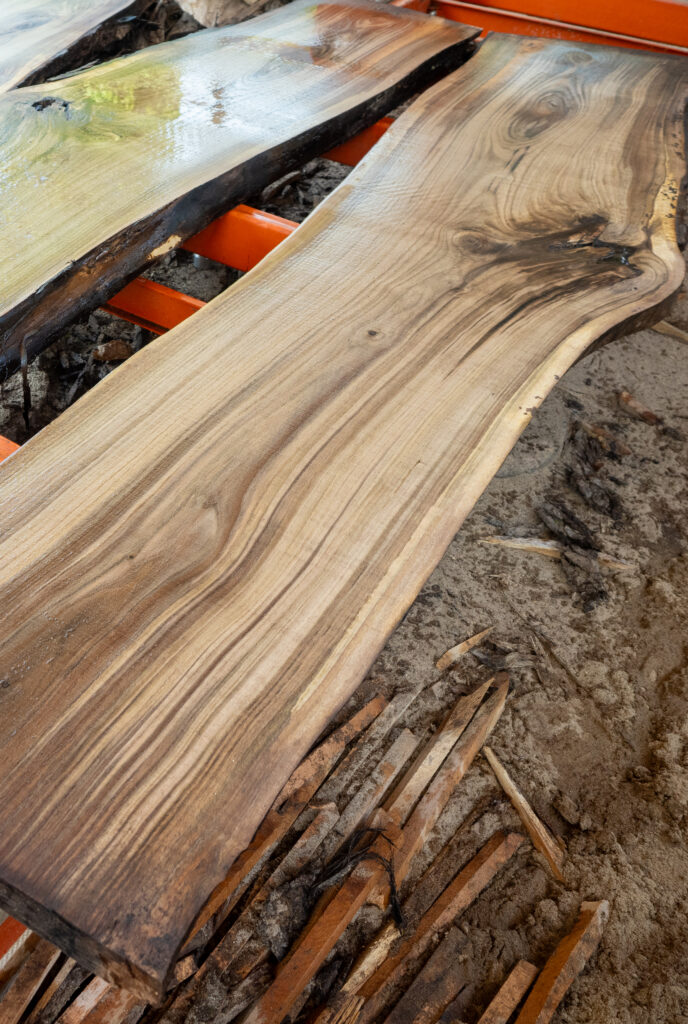
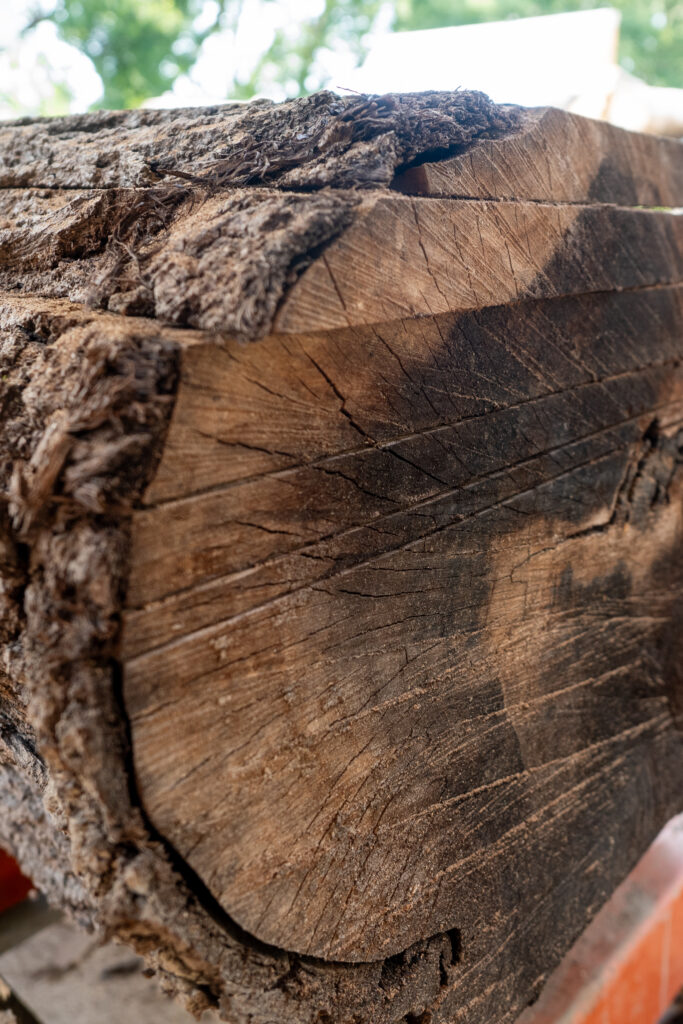
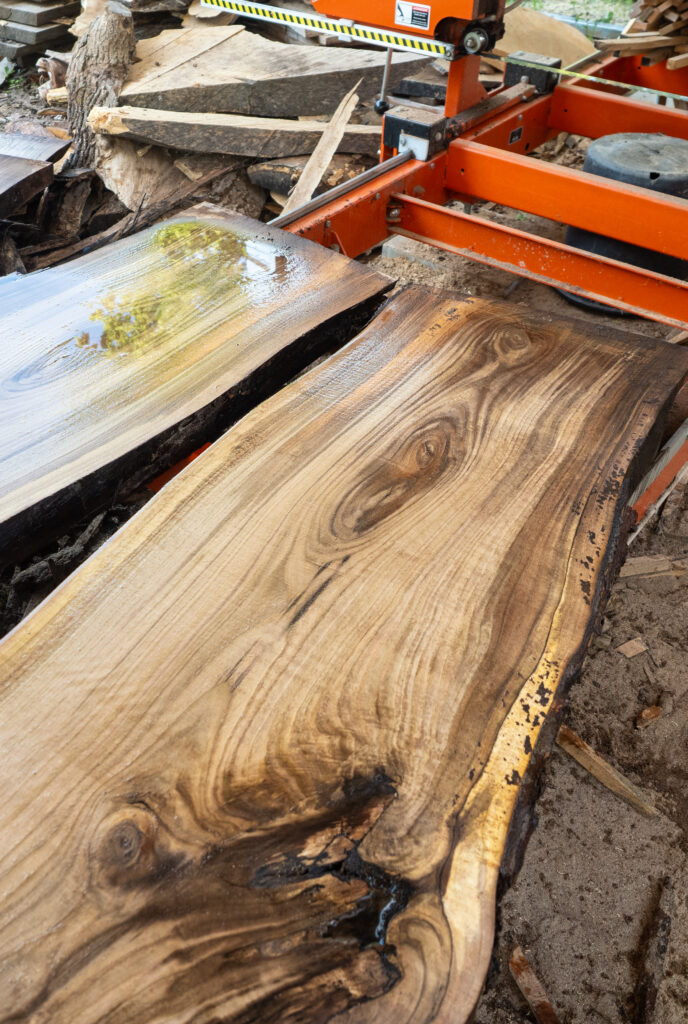
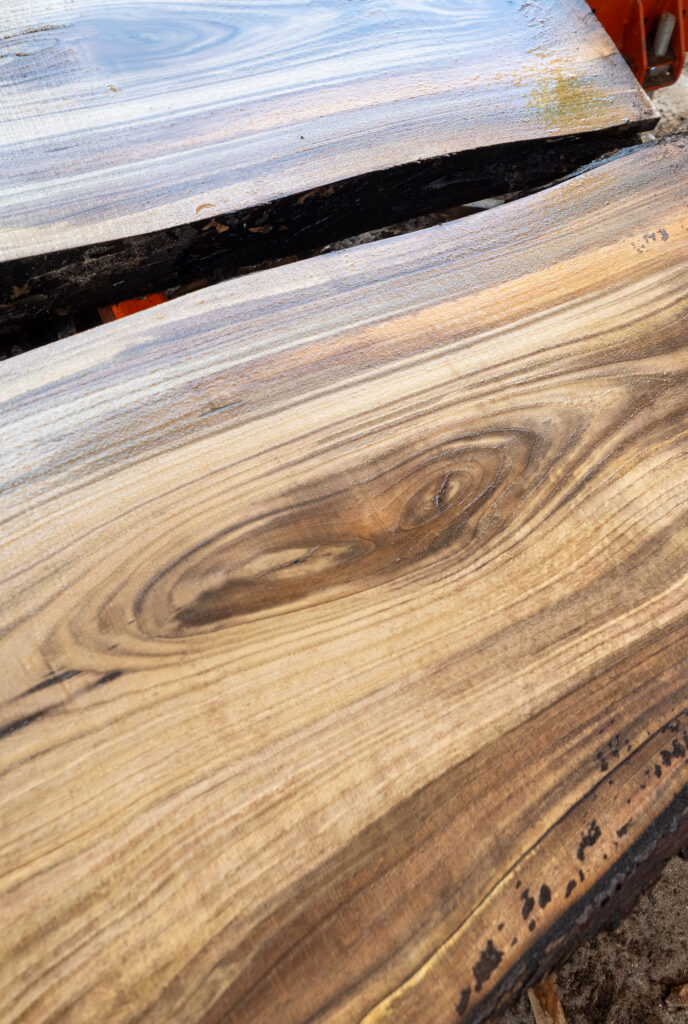
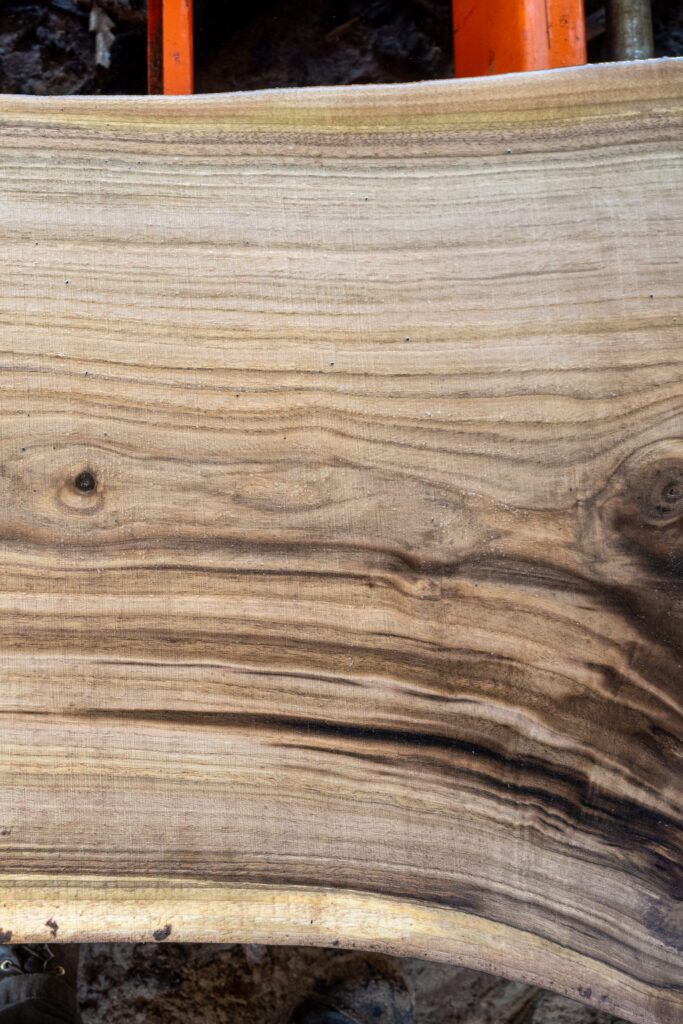
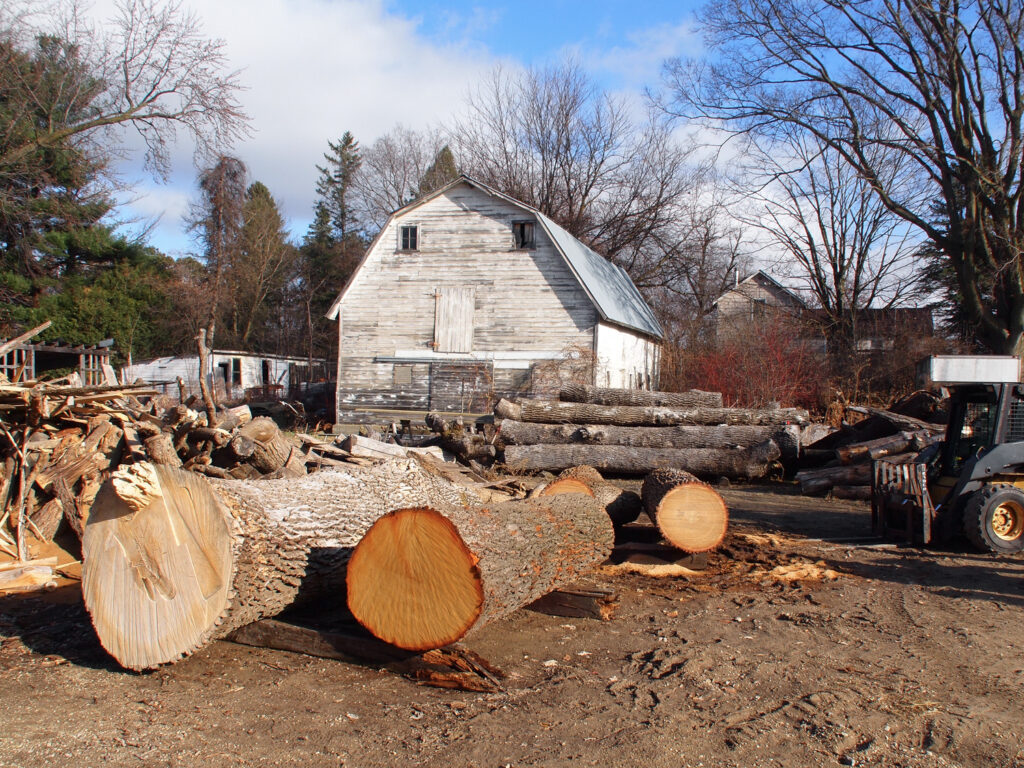
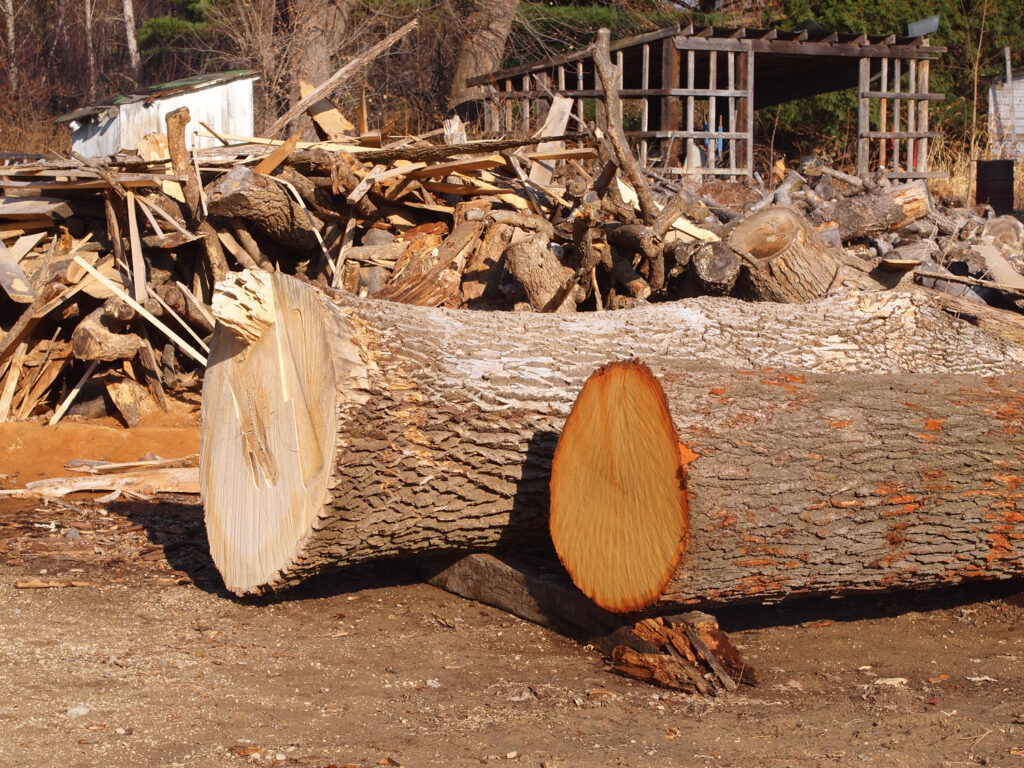
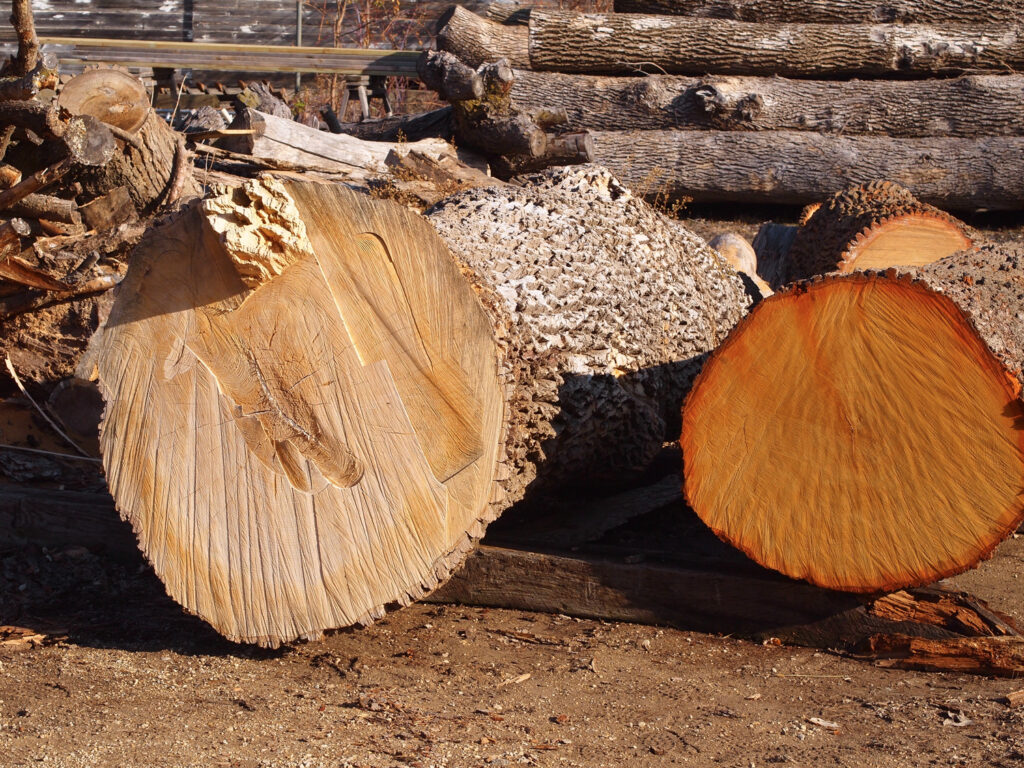
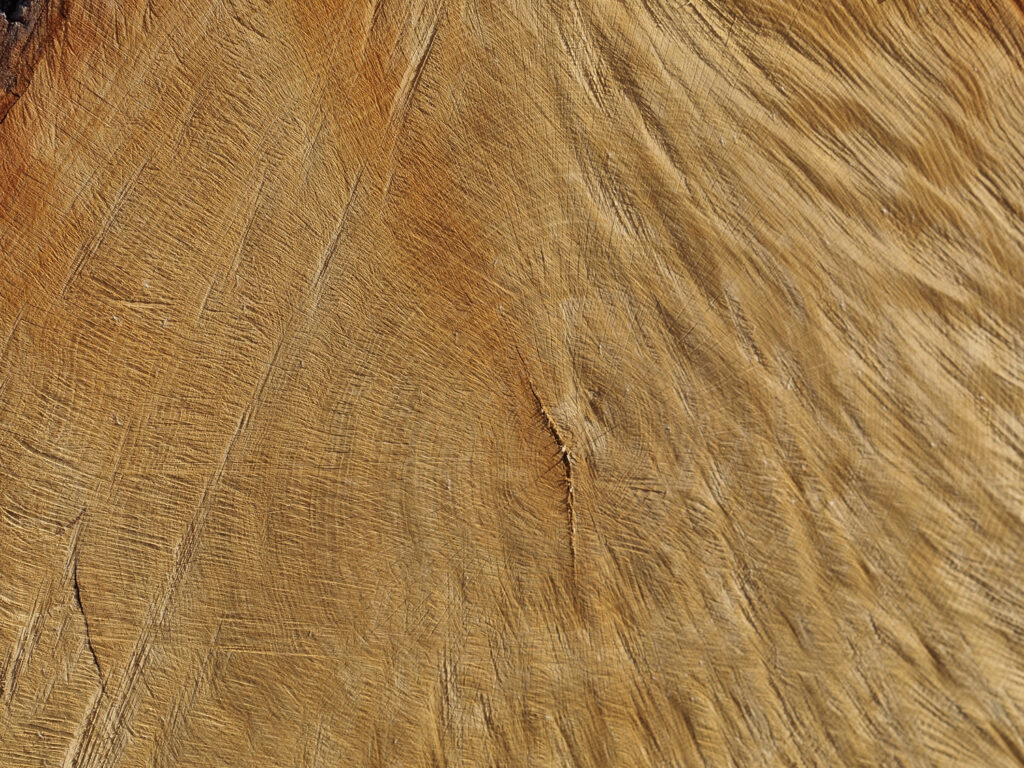
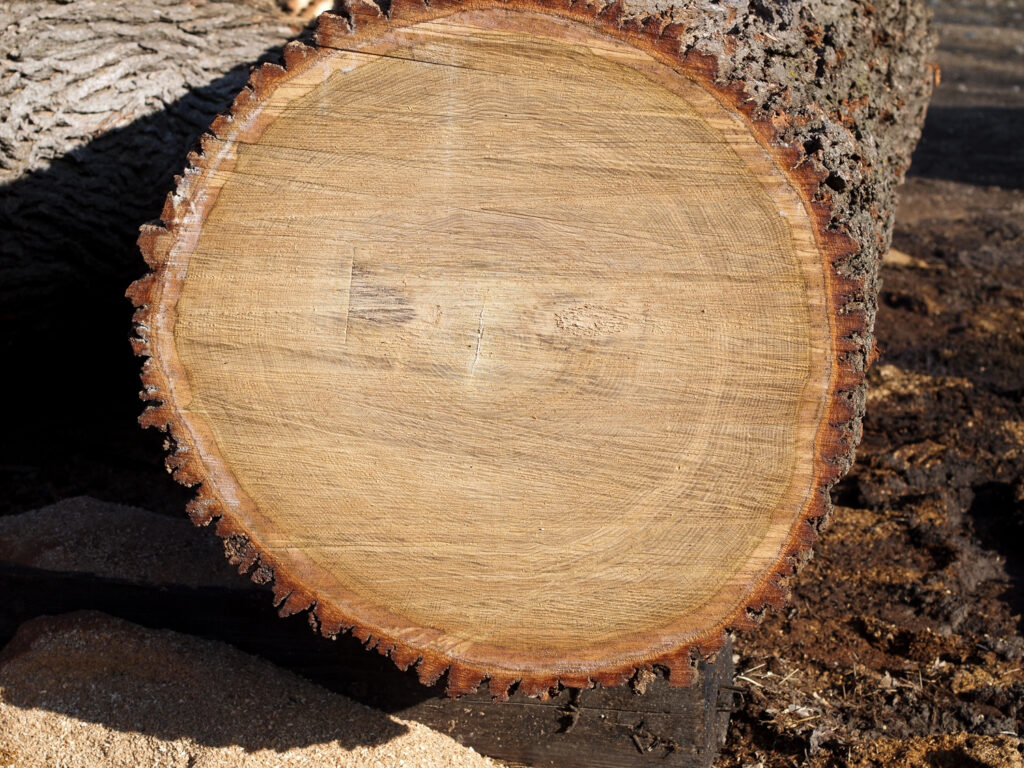
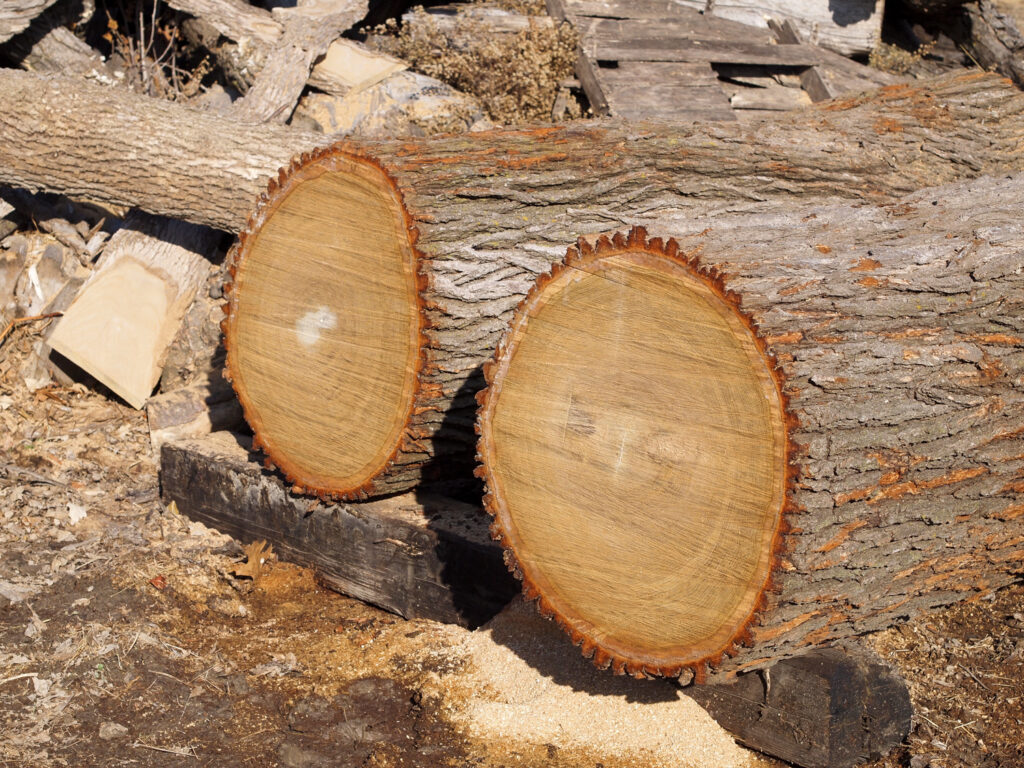
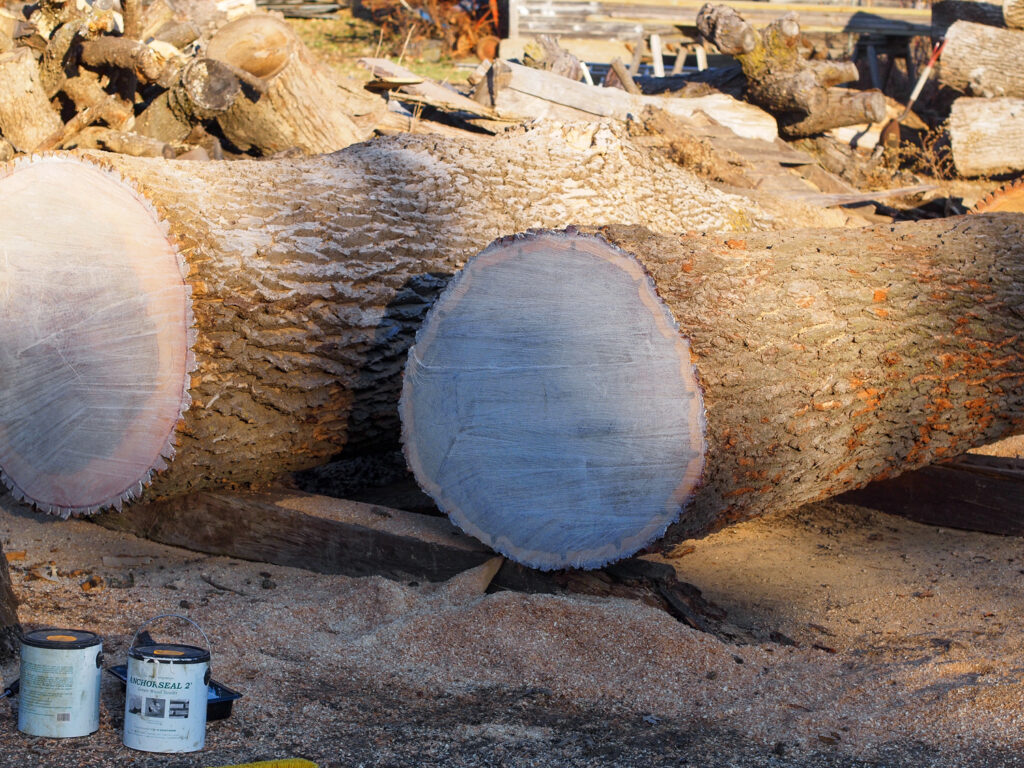
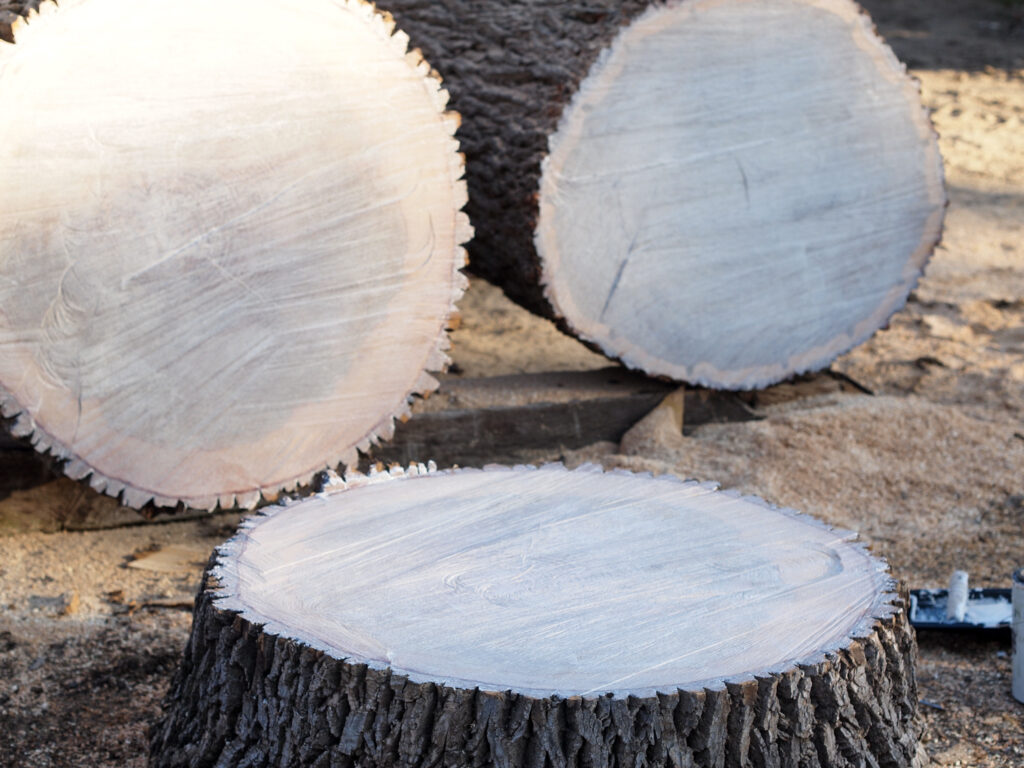
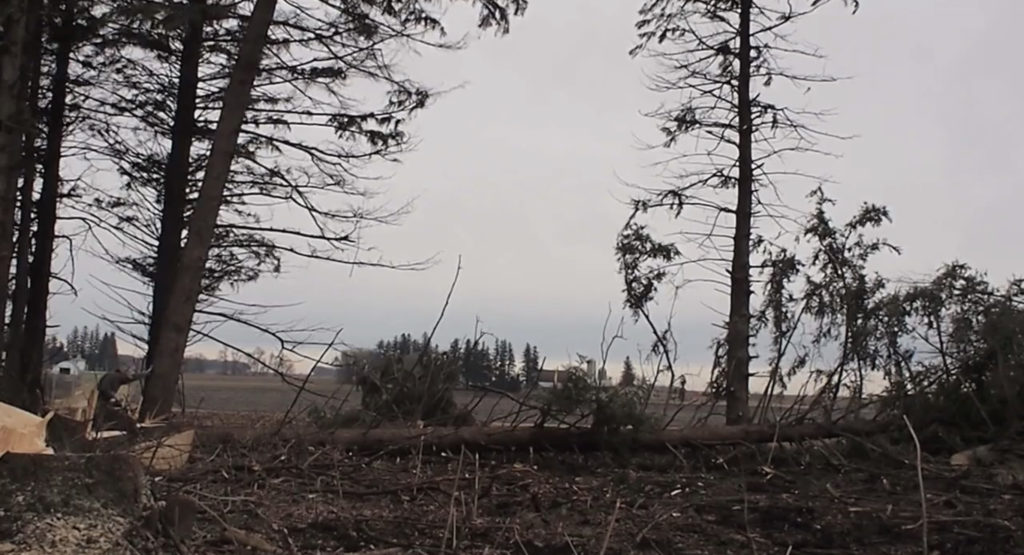
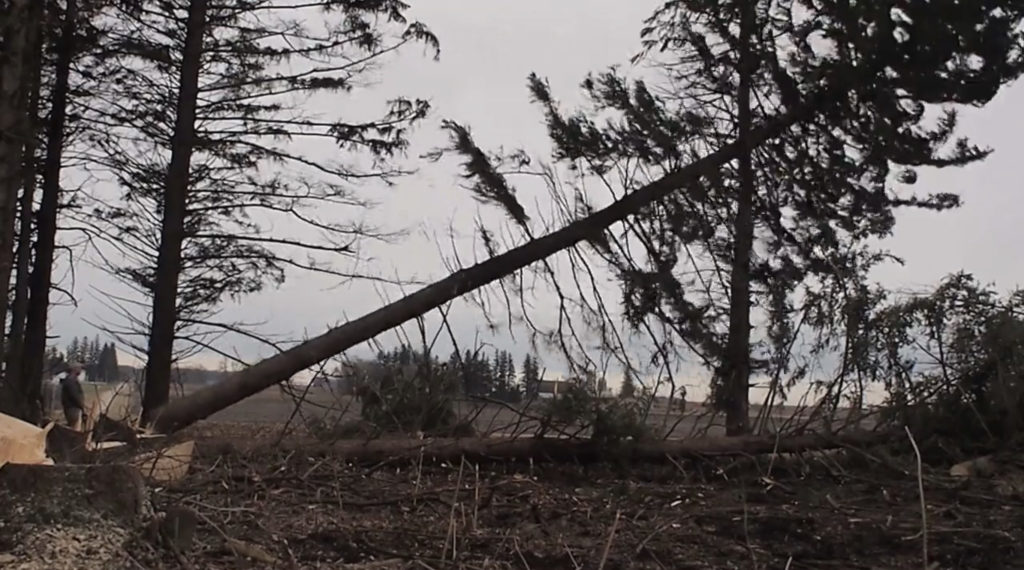
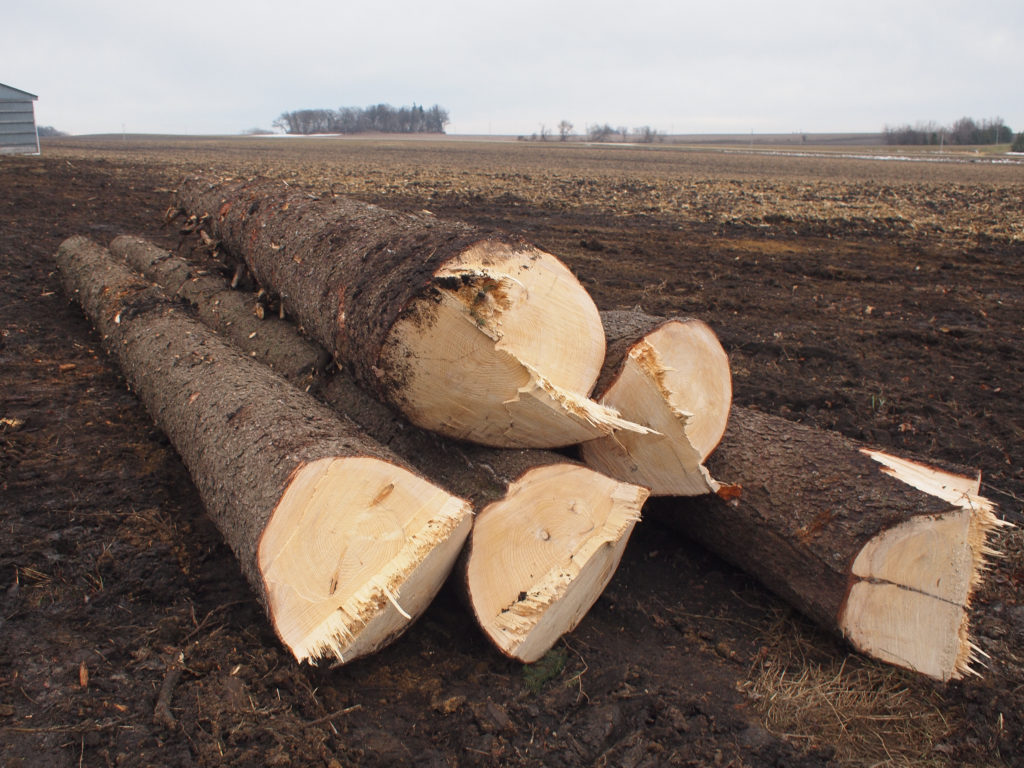
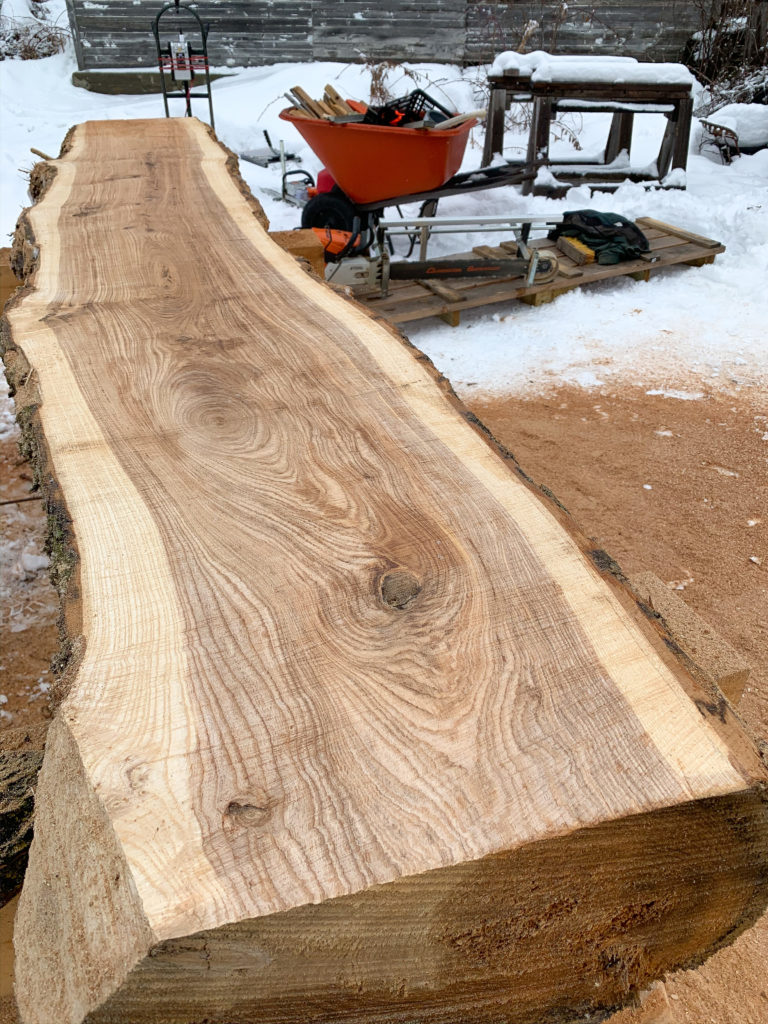
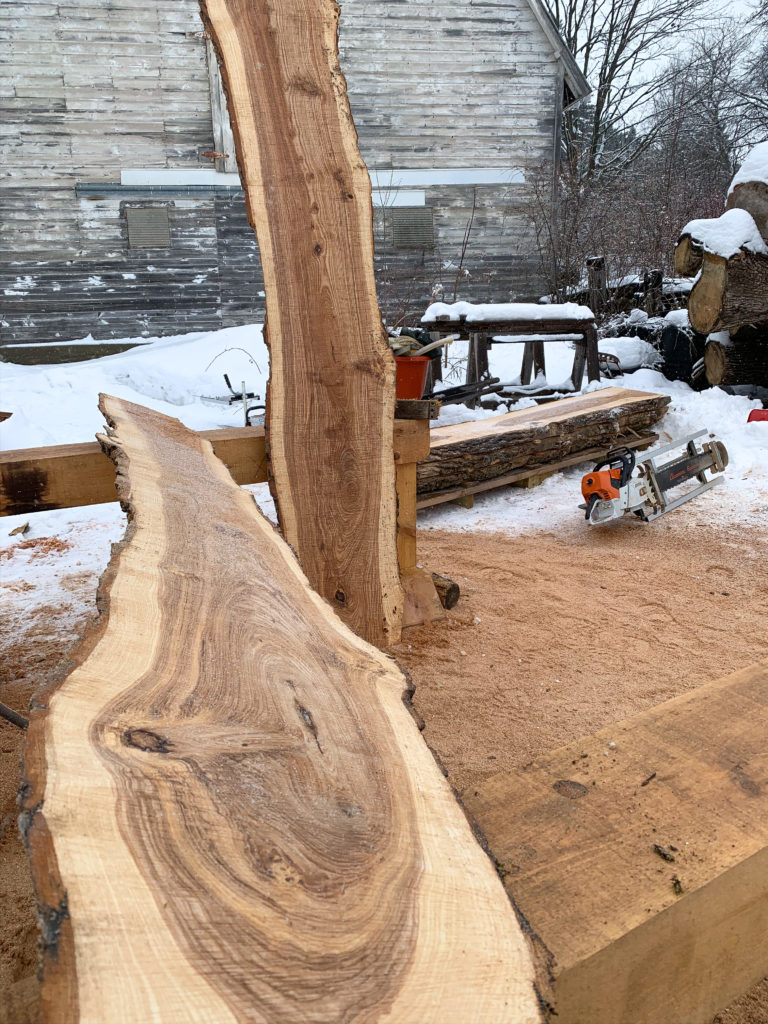
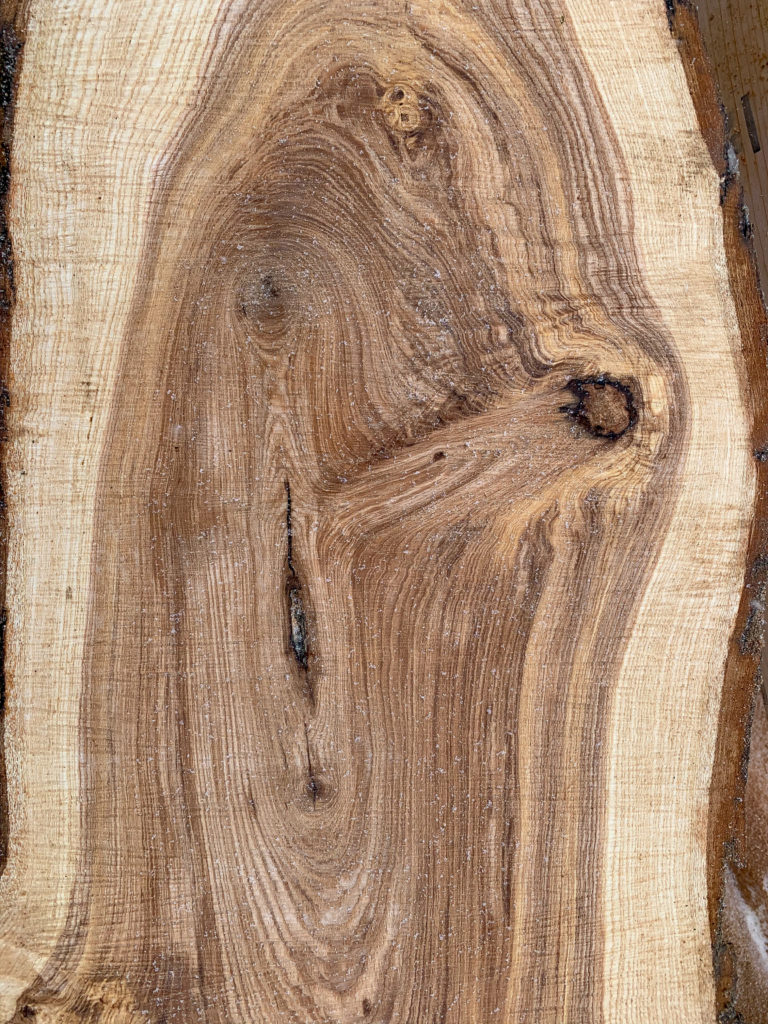
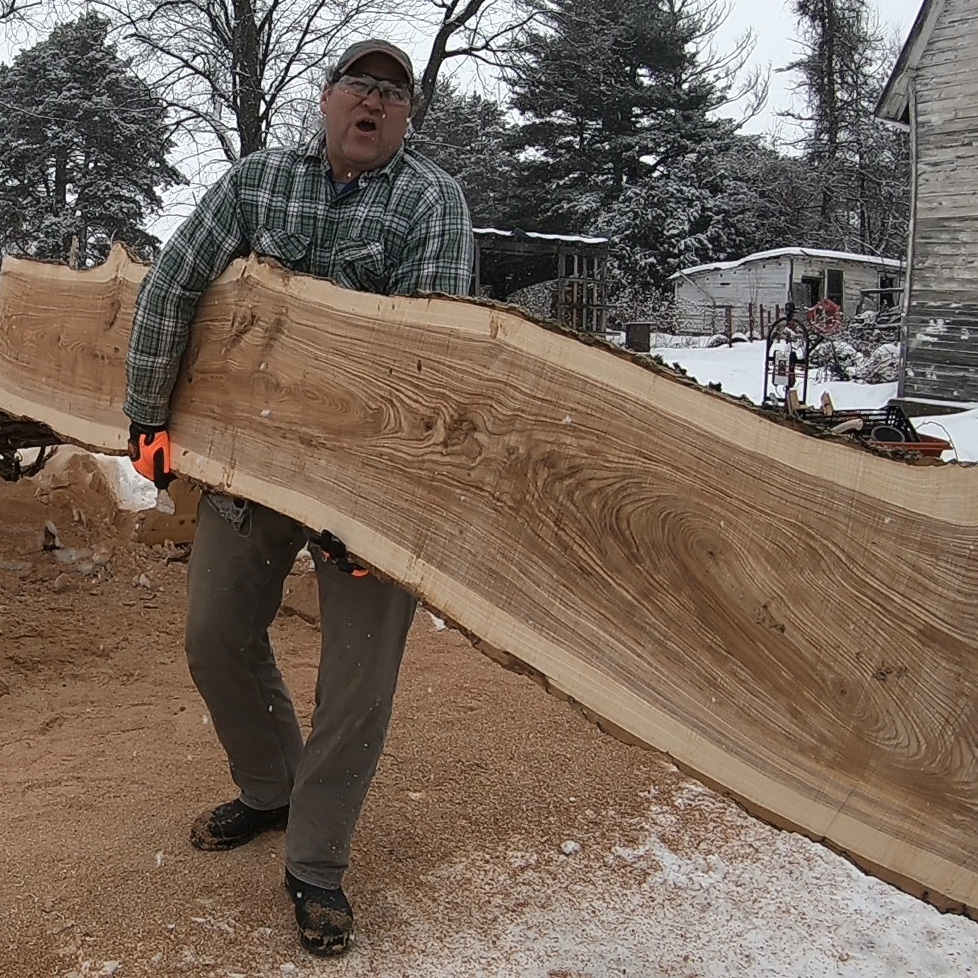
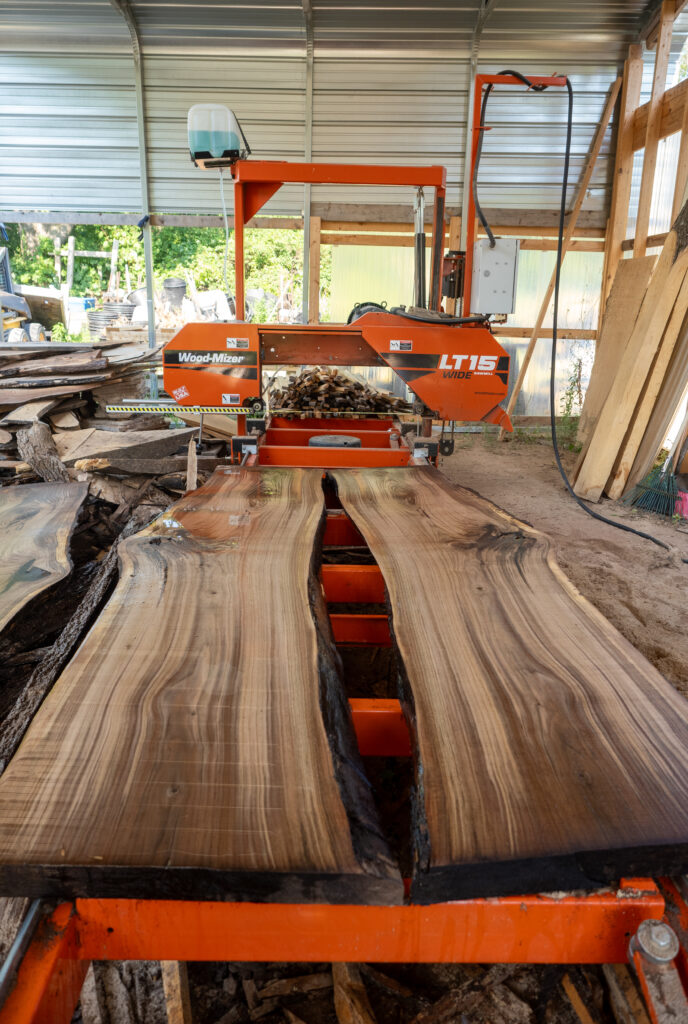
Among the various wood species, black walnut stands out as one of the most enjoyable woods to work with. Its allure lies in the myriad of surprises it holds within its core. The log featured in the video perfectly fits this description, as it had some natural defects and interior rot, which, surprisingly, opened up new creative possibilities. However, the most astonishing aspect that caught us off guard was the color of the wood. Normally, black walnut exhibits a dark heartwood, while the sapwood tends to be lighter in shade. Contrary to this expectation, most of the wood in this particular log boasted a stunning blonde color, beautifully accentuated with touches of the typical dark brown found in black walnut logs.
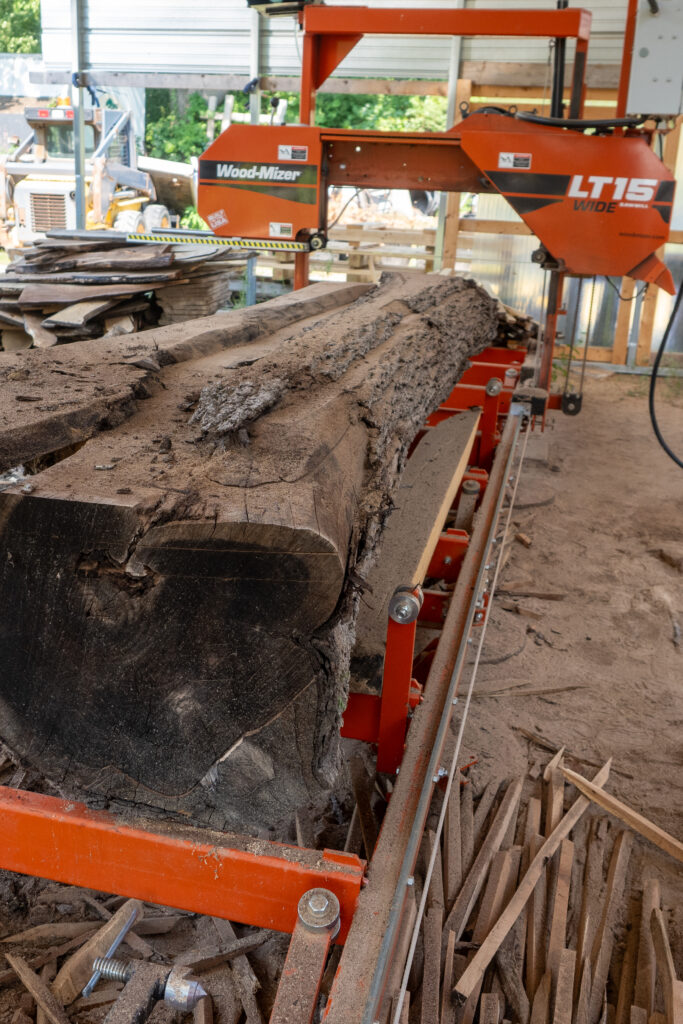
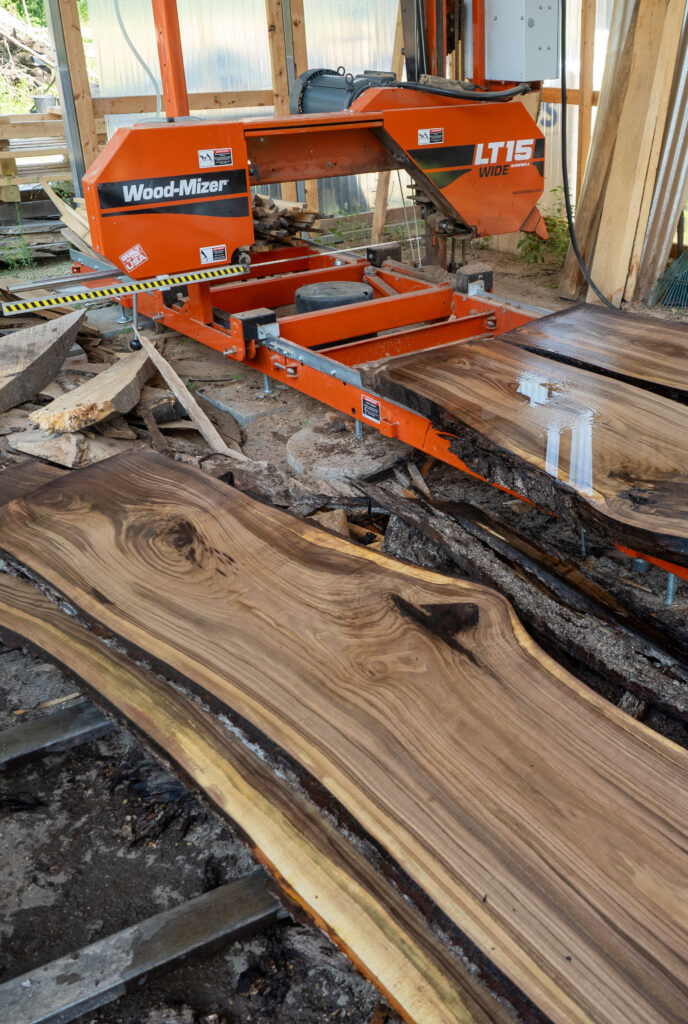
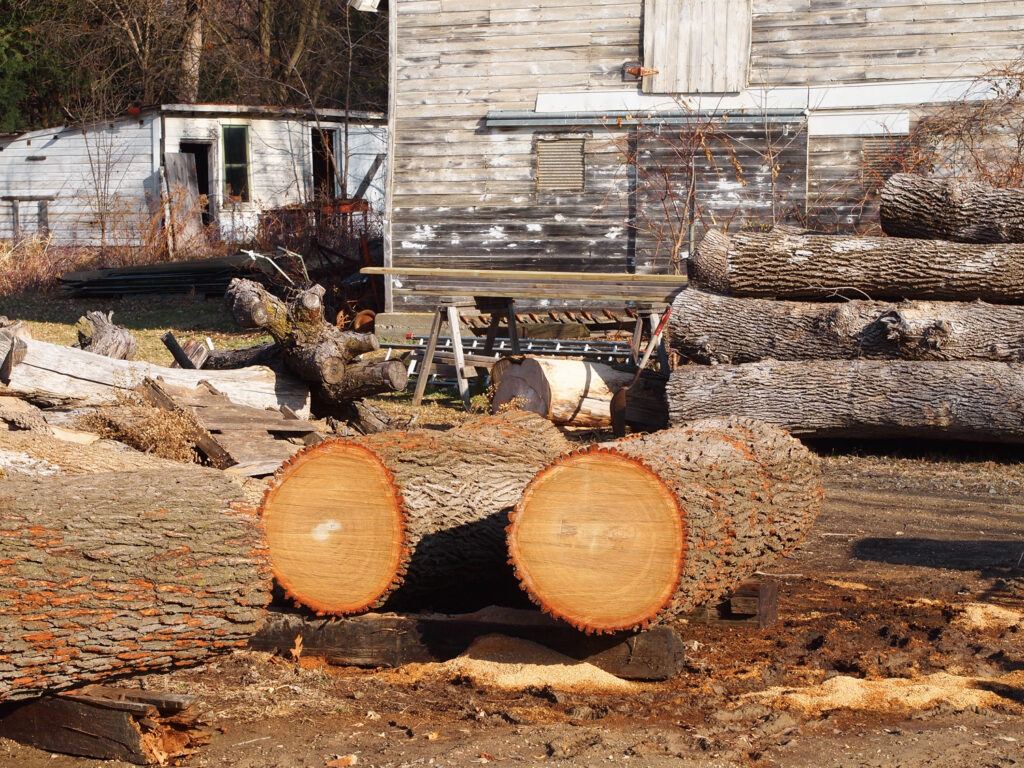
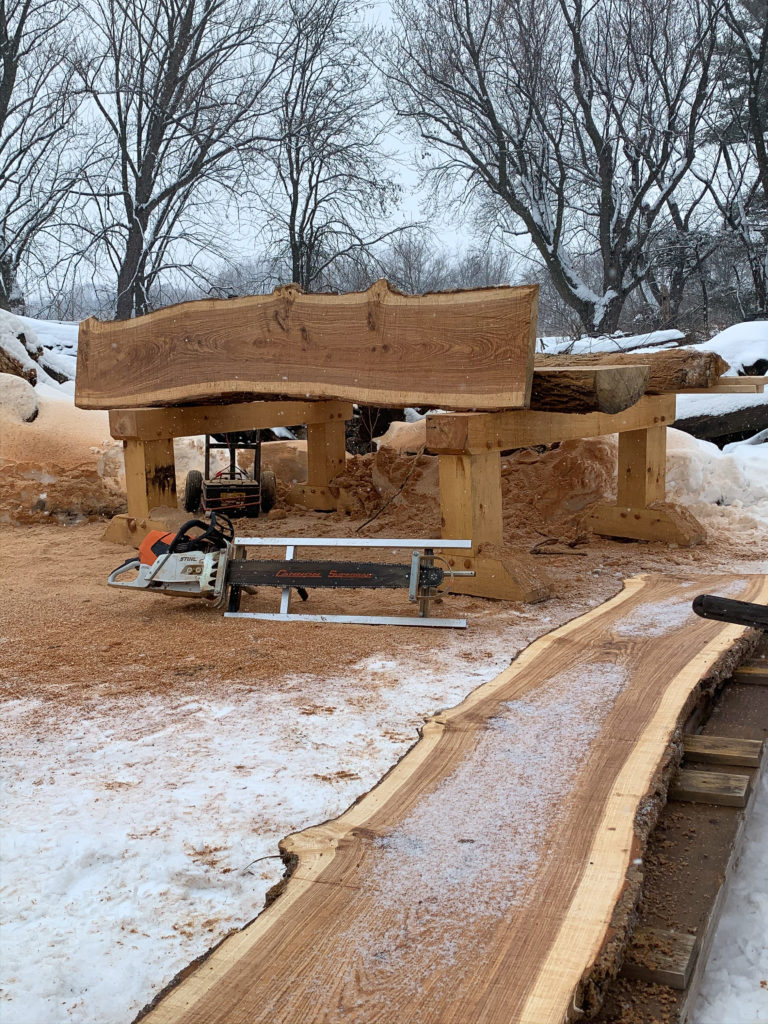
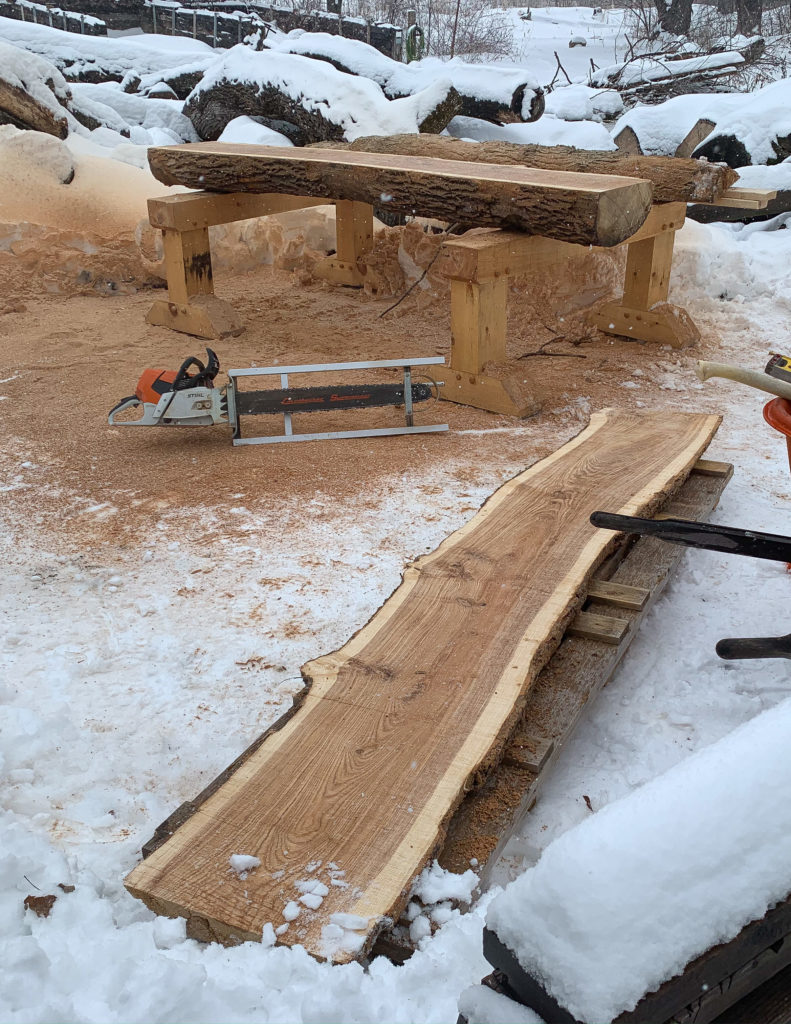
Operating the Wood-Mizer LT15 Wide is an absolute pleasure. Despite being classified as a portable sawmill, we have it set up without the go package and wheels, rendering it immobile. This setup allows the sawmill bed to rest closer to the ground, making it easier to maneuver and handle larger logs with utmost precision and safety. The LT15 Wide can accommodate logs up to 36 inches in diameter, but due to the inherent cutting capacity, it works best with logs around 35 1/2 inches in size. And this particular log we milled indeed made the most of that cutting capacity.
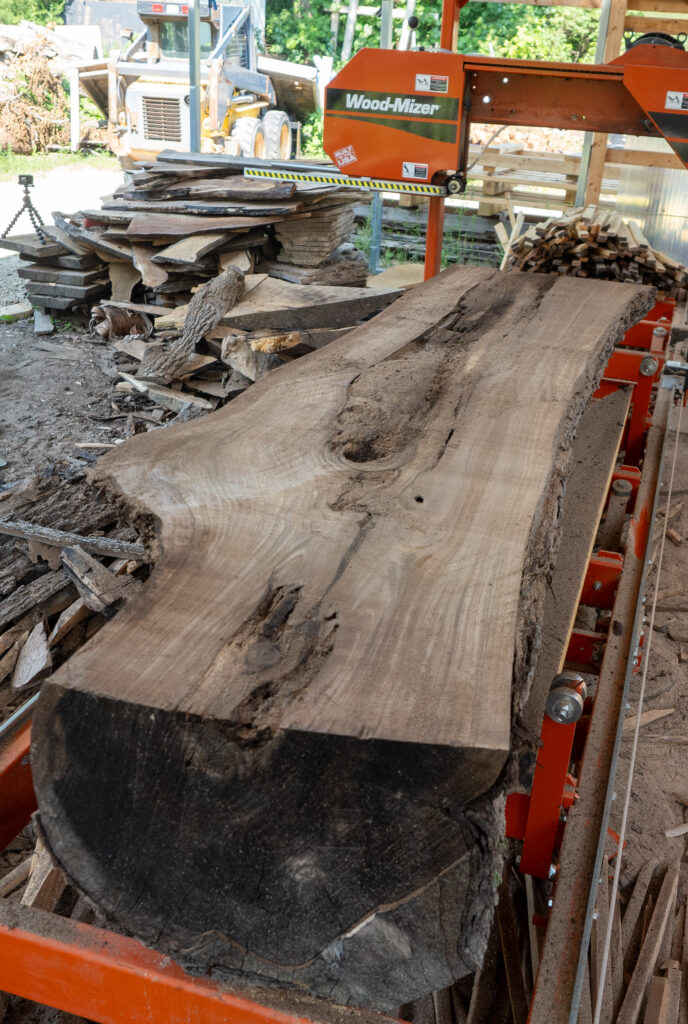
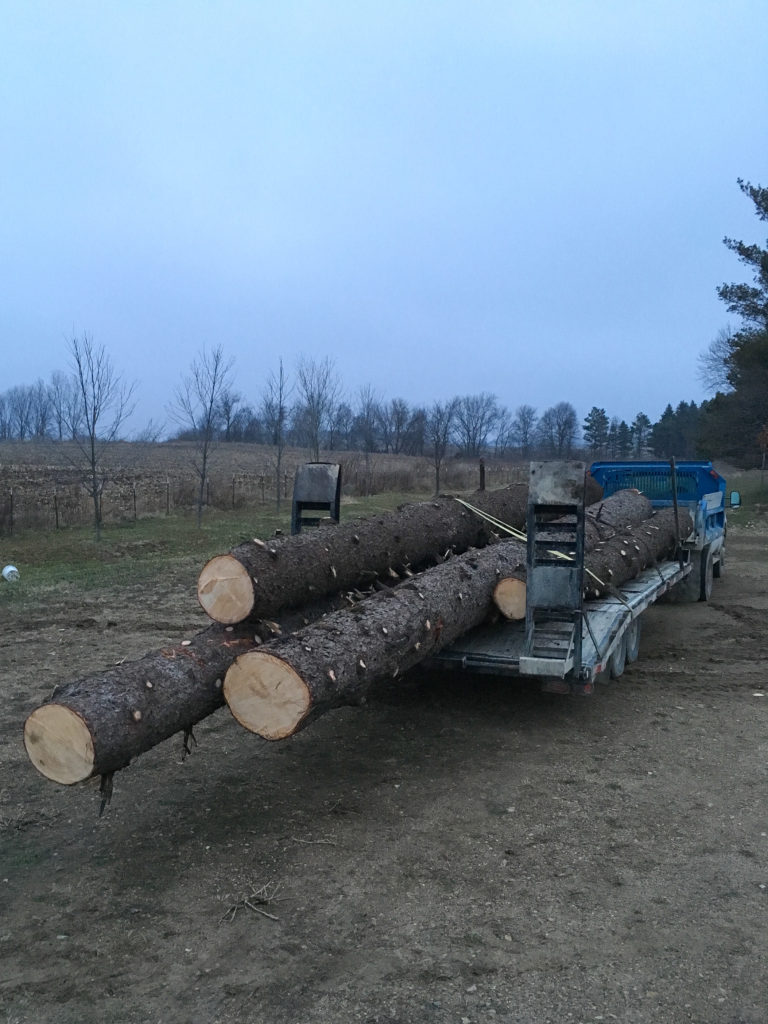
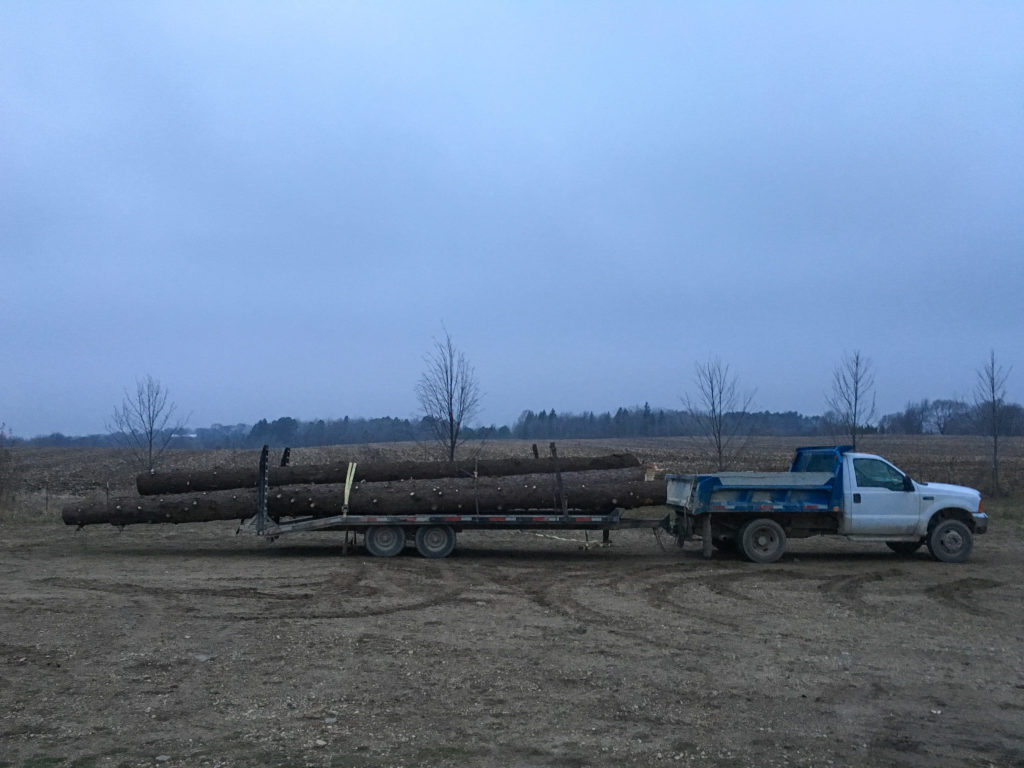
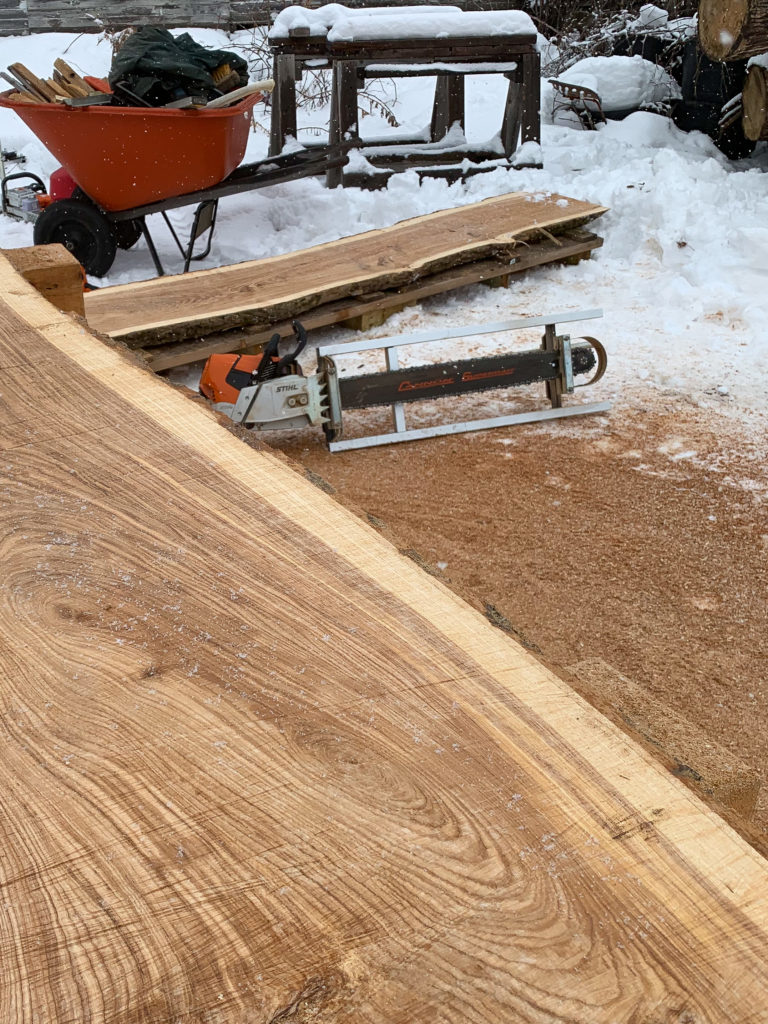
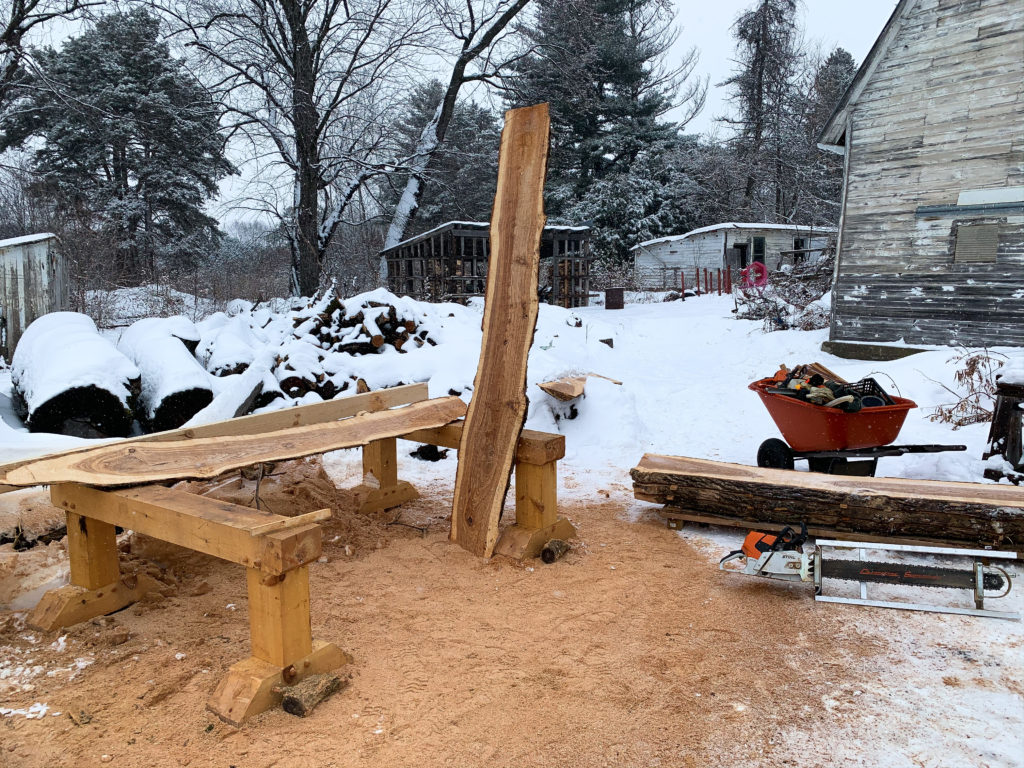
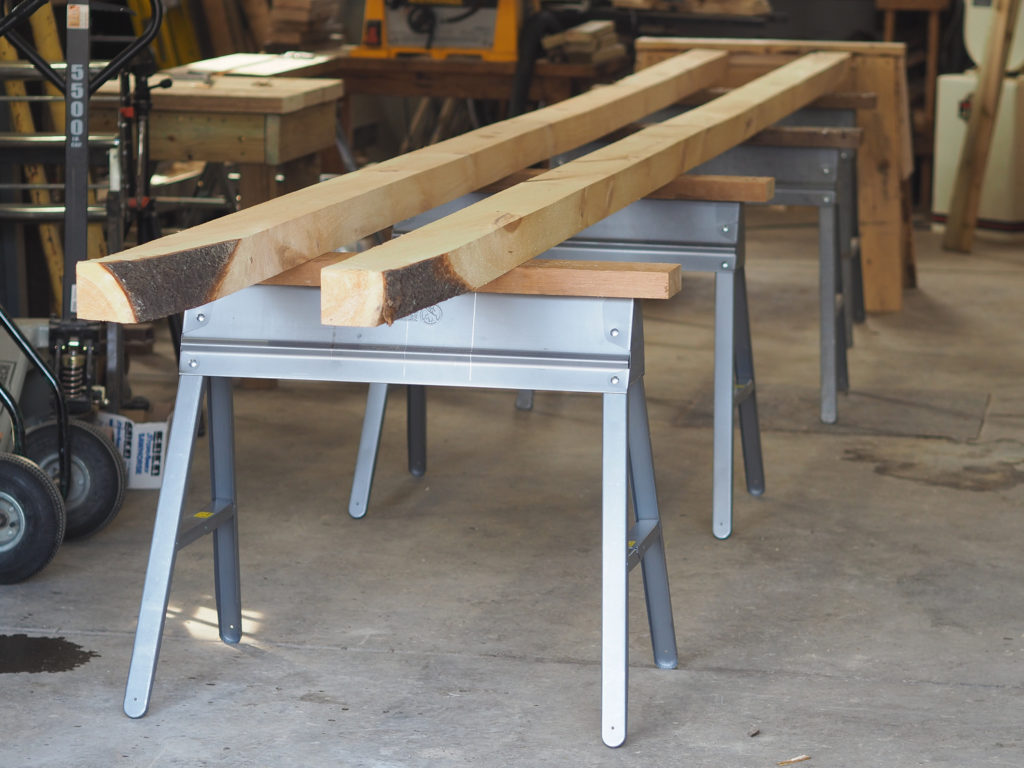
Before milling a log, we often spend some time contemplating what potential creations could be made from the wood once it’s cut. Whether it’s for personal projects or if someone purchases the wood, we consider various thicknesses to cater to different needs. For this log, we decided to cut four large slabs of black walnut at a thickness of ten quarters, specifically with the intention of using them in coffee table builds. The beautiful blonde color of the black walnut wood will undoubtedly add an exquisite touch to the finished coffee tables.
One of the joys of milling wood is engaging in the water popping of the grain. This technique not only enhances the wood’s natural beauty but also provides a glimpse of how the finished wood will look once the entire process is complete. Witnessing the color of the wood during this stage was a particular source of excitement, as encountering such a vibrant blonde black walnut is a rare and gratifying occurrence.
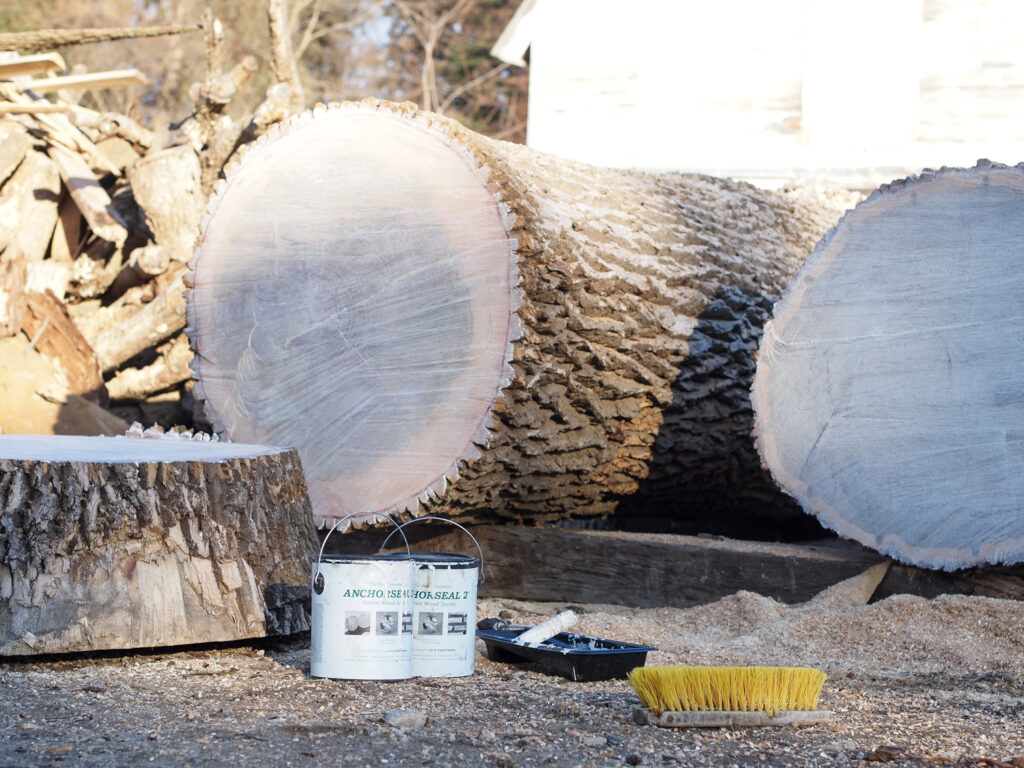
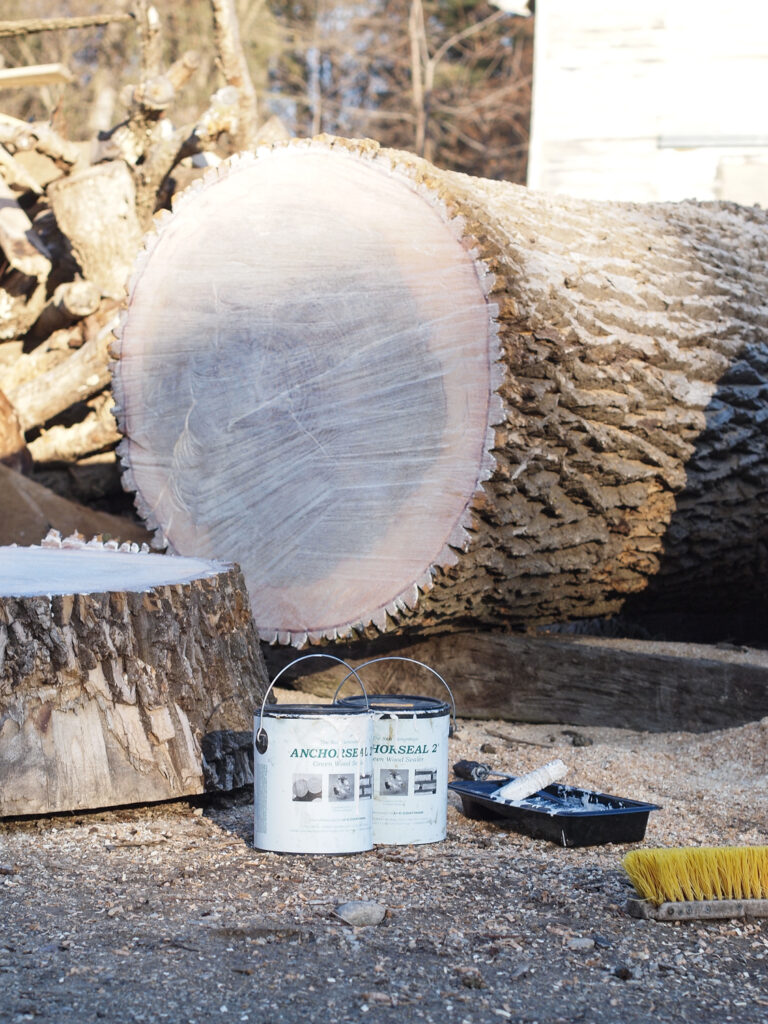
Once the milling is done, the next step involves stacking and stickering the wood to initiate the air drying process. Proper air drying ensures the wood retains its structural integrity while reducing the moisture content gradually. Subsequently, the wood will be transferred to a kiln to undergo complete drying, ensuring it achieves the optimal moisture levels for use in various projects.
We sincerely hope you enjoyed discovering the inner beauty of this black walnut log as much as we did during the milling process. Each log we encounter holds its own unique surprises, making the woodworking journey a perpetual exploration of nature’s artistic craftsmanship. The gratification that comes from transforming raw logs into beautiful pieces of woodwork is immeasurable, and sharing this journey with others who appreciate the artistry of wood is an equally rewarding experience. Whether it’s through coffee tables, cabinets, or other bespoke creations, the blonde black walnut from this log will undoubtedly find its place in homes, enriching spaces with its warmth and elegance for years to come.